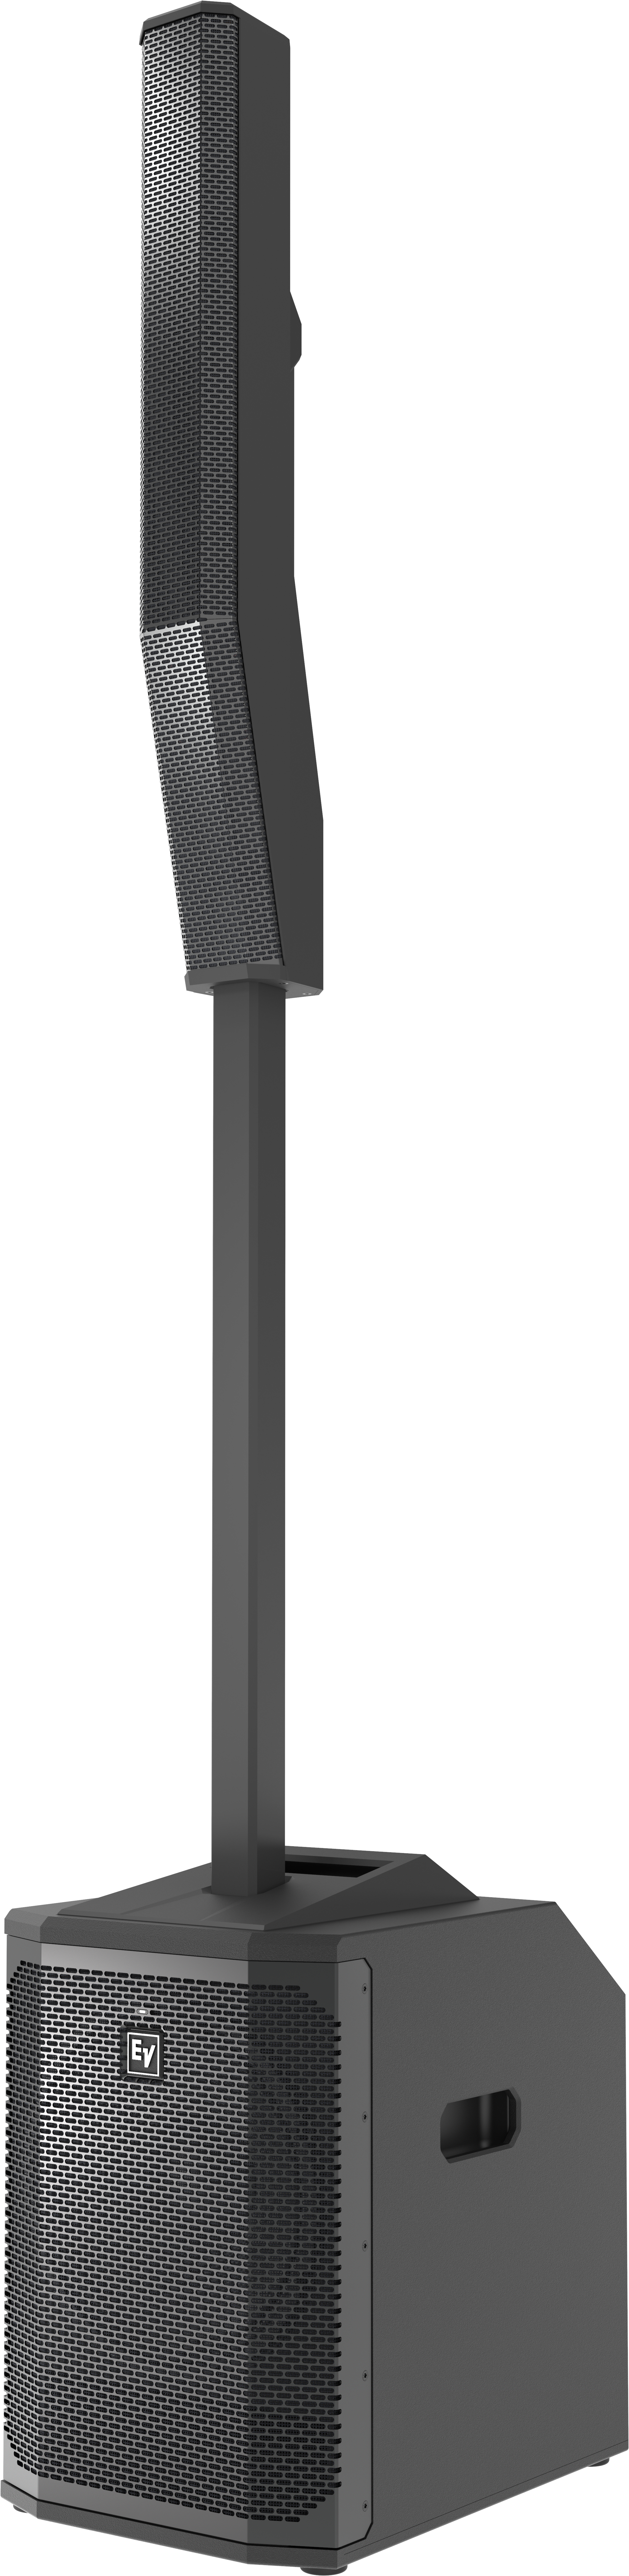

MP1

Features
1. Turn the ZX1-90 enclosure upside down, and remove the four #8 screws that attach the rubber feet to the bottom of the ZX1-90 enclosure with a Phillips screwdriver (Figure 1). The screws will not be needed for the kit, but they will be needed if you ever want to return the ZX1-90 to its original condition. 2. Remove the four rubber feet from the bottom of the ZX1-90 enclosure (Figure 2). 3. Place the four plastic spacers on the bottom of the ZX1-90 enclosure, and place the steel plate on the plastic spacers (Figure 3). 4. Place the four rubber feet on the steel plate. Use the four #8 screws supplied with the kit to attach the plastic spacers and plate to the enclosure (Figure 4). Apply enough torque to each screw so that the rubber foot is bulging slightly. Do not apply too much torque, as it will damage the rubber foot. 5. Attach the single stud fittings by pressing down on the button, and placing the button through the “dog bone” openings on the plate (Figure 5). Slide the fittings toward the center of the dog bone until it snaps in place.
Figure 1: Removing Screws from Bottom of Enclosure
Figure 2: Removing Feet from Bottom of Enclosure
Figure 3: Attaching Spacers and Plate to Bottom of Enclosure
Figure 4: Attaching Feet to Steel Plate
Figure 5: Attaching Stud Fittings to Steel Plate
WARNING: Suspending any object is potentially dangerous and should only be attempted by individuals who have a thorough knowledge of the techniques and regulations of rigging objects overhead. Electro-Voice® strongly recommends that ZX1 speakers be suspended taking into account all current national, federal, state and local regulations. It is the responsibility of the installer to ensure that ZX1 speakers are safely installed in accordance with all such regulations. If ZX1 speakers are suspended, Electro-Voice® strongly recommends that the system be inspected at least once a year. If any sign of weakness or damage is detected, remedial action should be taken immediately.
CA-ZX (P/N 302023-001) 1. Screw the truss clamp onto the pole mount spigot, using an adjustable wrench (Figure 1). 2. Turn the ZX1-90 enclosure upside down, and remove the setscrew from the back of the pole mount (Figure 2). 3. Insert the truss clamp and pole mount spigot into the pole mount on the ZX1-90 (Figure 3). Screw the eyebolt into the back of the pole mount. Test that the eyebolt is located in the groove of the spigot properly by pulling on the truss clamp, tighten eyebolt. 4. Mount the truss clamp to the truss (Figure 4). Securely tighten the clamp. Attach a cable (not included) to the eyebolt and truss as a safety precaution.
Figure 1: Screw Truss Clamp to Pole Mount Spigot